








Planning a thin veneer stone project?
Before you order, you need to know how much stone you actually need. Here’s a simple step-by-step guide to measuring your project, accounting for corners and openings, and determining how much material to order.
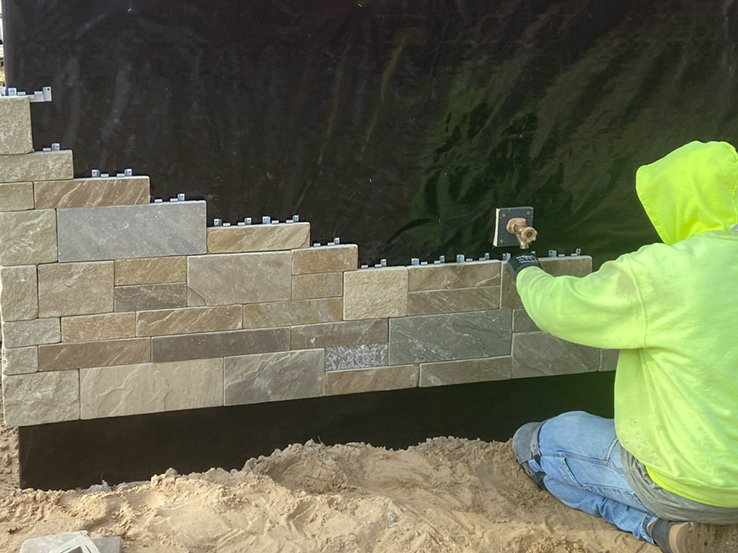
Thin stone veneer is designed to provide the appearance and character of natural stone in a thinner format.
Because it is thinner, it can be used in applications where a full-depth stone installation isn’t appropriate or necessary.
One of the first questions we hear when someone is planning a natural stone thin veneer project is a simple one:
“How much stone do I need?”
Fortunately, figuring out the approximate amount of stone for a project doesn’t have to be complicated. With a tape measure, a calculator and a few simple measurements, you can get a good starting point for estimating the amount of veneer you’ll need.
The important thing to remember is that stone veneer is measured differently depending on the type of stone and the application. Flat thin veneer is generally calculated in square feet, while thin veneer corner pieces are calculated in linear feet. Flats cover the flat wall surface, while corners are used on outside corners.
Here’s how to get started.
Step 1: Measure the Wall Area

Start by measuring the areas where you plan to install stone.
For a simple rectangular wall, measure: Length × Height = Total Square Feet
Example:
A wall is:
20 feet wide × 10 feet tall
20 × 10 = 200 square feet
So, your starting wall area is 200 square feet.
If your project has multiple walls, measure each wall separately and add the totals together.
Don’t have a simple rectangle? That’s okay.
For a gable, angled wall or other irregular area, break the surface into smaller, easy-to-measure sections.
For example:
- Rectangle: length × height
- Triangle: base × height ÷ 2
- Multiple sections: calculate each section separately, then add them together
Tip: You can sketch the wall on paper and write your measurements directly on the drawing. This makes it much easier to double-check your numbers later.
Step 2: Subtract Windows, Doors and Other Openings

You don’t want to order stone for areas that aren’t going to receive stone.
Measure each window, door, garage door or other opening.
Use the same formula:
Width × Height = Opening Area
Example:
A window is:
4 feet wide × 5 feet tall
4 × 5 = 20 square feet
If you have two identical windows:
20 × 2 = 40 square feet
Now subtract those openings from your total wall area.
Example:
Total wall area: 200 sq. ft.
Windows: −40 sq. ft.
Net wall area: 160 sq. ft.
You now have approximately 160 square feet of flat wall area to cover.
What about small openings?
For very small openings, the amount of stone saved may be relatively minor. Your installer or stone supplier can help determine whether it makes sense to subtract every small opening individually.
The goal at this stage is to establish a good estimate, not to create a complicated mathematical equation.
Step 3: Calculate Your Corners

Here’s where thin stone veneer differs from many other building materials.
Thin veneer flats and corner stones are calculated separately.
Flats are used across the face of the wall and are generally ordered by square feet. Corner pieces are designed to wrap around outside corners and are ordered by linear feet.
To calculate your corner material, measure the vertical length of each outside corner where stone will be installed.
Example:
Your project has two outside corners.
Corner 1: 10 feet
Corner 2: 10 feet
10 + 10 = 20 linear feet of corners
So, your estimated material would be:
160 square feet of flats
20 linear feet of corners
Don’t forget other corners.
Depending on the design, you may also need corner pieces around areas such as:
- Chimneys
- Bump-outs
- Columns
- Projections
- Exterior wall returns
- Certain window or door openings
Step 4: Account for Cuts, Trimming and Natural Stone Variation
Now you’ve calculated your basic square footage and corner footage. But there’s one more thing to consider:
Your project isn’t going to use every piece of stone exactly as it comes out of the crate.
Natural stone is a natural product, so individual pieces vary in shape, size, color and character. Depending on the product and installation pattern, some pieces may need to be trimmed or cut to fit.
Earthworks’ installation recommendations note that installers may need to use nippers, a masonry saw or a hammer to trim stone to the desired shape.
Why extra material matters
You may need additional material because of:
- Cuts around windows and doors
- Fitting pieces at wall ends
- Working around architectural details
- Pattern requirements
- Broken or unusable pieces
- Selecting and distributing stone for the desired appearance
- The particular shape and installation style of the stone
There isn’t one universal “waste percentage” that works for every natural stone project.
A highly regular dimensional veneer may have very different cutting requirements than an irregular fieldstone, or mosaic (Earthwork’s Euro Series). The amount can range from 5-15%.
Your Earthworks sales representative or installer can help determine an appropriate allowance based on the specific stone you’re using and the installation.
Here is a great worksheet that can help you calculate what you need for your project. Your supplier or installer can assist with calculating additional material you may need.
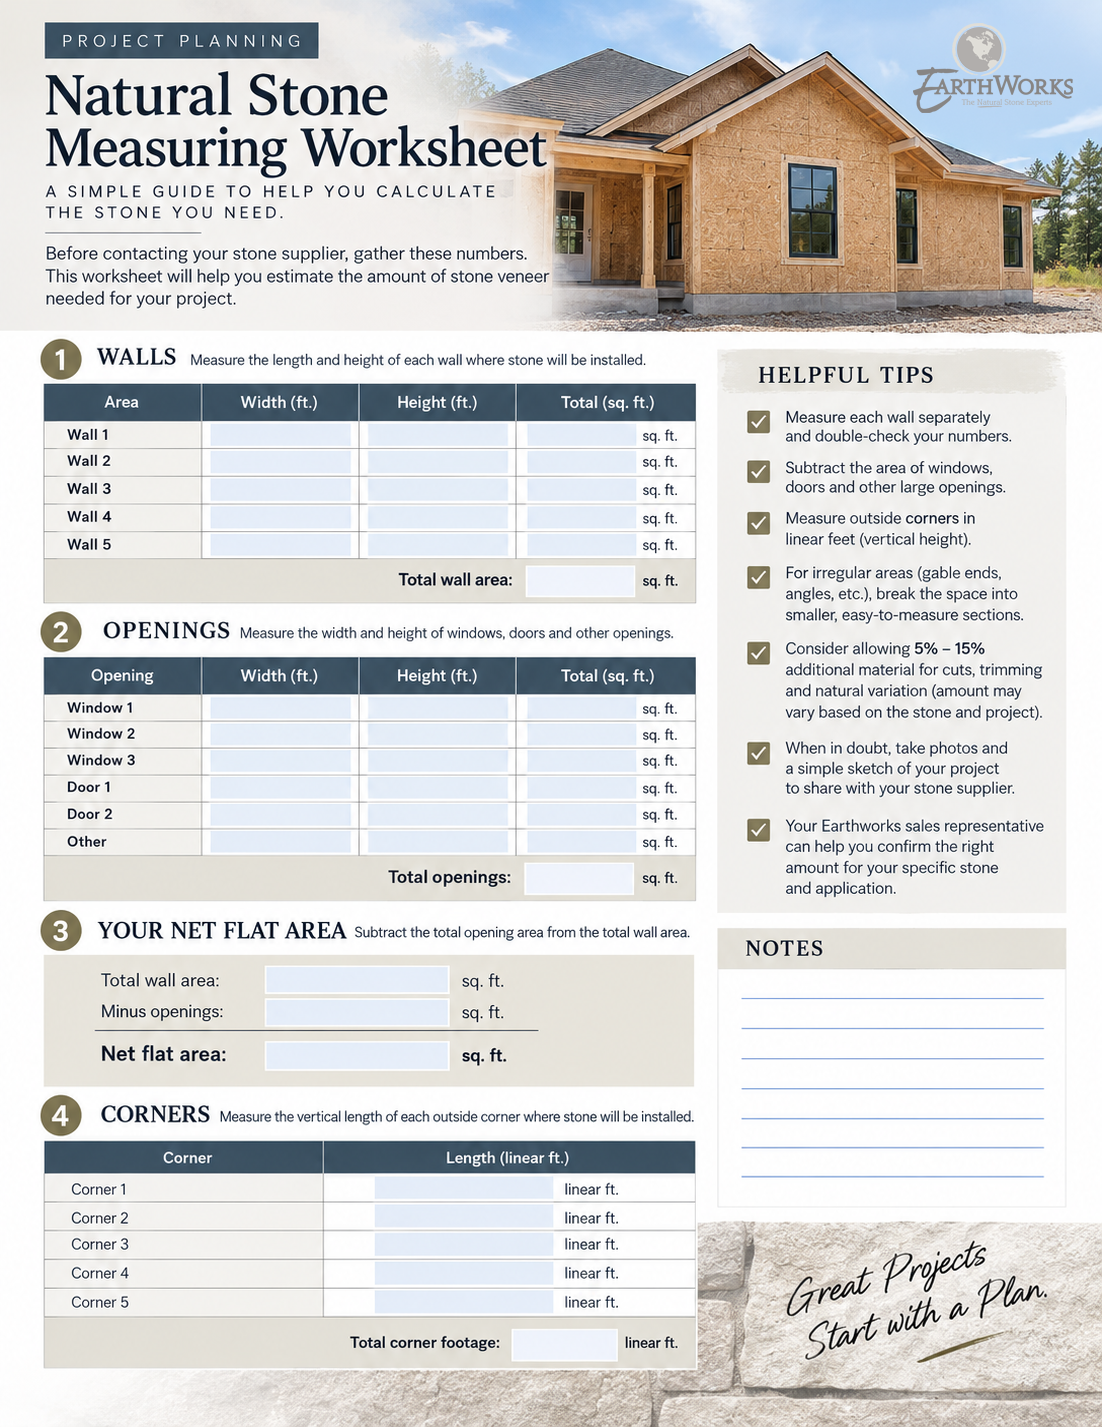
Before You Order: 6 Things to Have Ready
Having a few details ready when you contact your stone supplier can make the estimating process much easier.
- Your approximate square footage – Know your net wall area after subtracting major openings.
- Your corner footage – Measure the outside corners separately.
- Your stone preference – If you’ve already selected a stone, have the name and finish available. If you haven’t, that’s okay. Your stone supplier can help you narrow down options based on the look you’re trying to achieve.
- Stone Accessories- If you would like to add an cut stone such as sills, caps, coping, or treads, be sure to have those measurements, along with any specific finishes you may want. Your Earthwork’s sales representative or install can help you with stone selection and finish options for surfaces and edges.
- Photos of your project – Photos can be extremely helpful, particularly when discussing an existing structure.
- A drawing or sketch – Even a simple hand-drawn sketch with measurements can help your supplier and installer understand the project.
One More Important Tip: Don’t Order From a Picture Alone
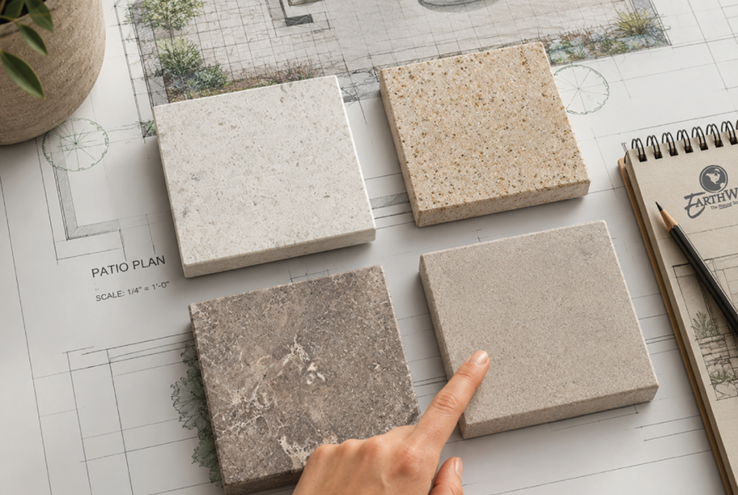
Natural stone is, by definition, a natural material. Color, texture, veining, mineral deposits and other characteristics can vary from piece to piece. That’s part of what gives natural stone its character.
When you’re making a final selection, look at actual stone samples whenever possible and talk with your supplier about the expected range of natural variation.
Earthworks offers a wide range of natural stone veneer products, with options ranging from more consistent dimensional styles to highly varied natural textures and patterns.
The goal isn’t for every piece of stone to look identical. The goal is for the finished installation to look naturally balanced and beautiful.
The Bottom Line
Measuring for natural stone veneer can be as simple as remembering these simple steps.
And if you’re still standing in your driveway with a tape measure wondering, “Did I calculate this right?”
That’s what we’re here for.
Planning a Natural Stone Project?
Earthworks offers a wide selection of natural stone veneer products, finishes and accessories, backed by decades of experience in quarrying, fabrication and natural stone applications.
Have your measurements ready, and let our team help you determine the right material for your project.
Contact Earthworks or connect with your Earthworks sales representative to get started.
